Conquering Yellowbrow: A Comprehensive Guide to the Three-Stage Boss Fight
Master the epic Yellowbrow final boss fight in Black Myth: Wukong's Chapter 3, a thrilling three-phase trial demanding skill and strategic adaptability. This mercifully designed, puzzle-like confrontation features a deceptive tutorial, a chaotic sack battle, and a climactic powered-up rematch.
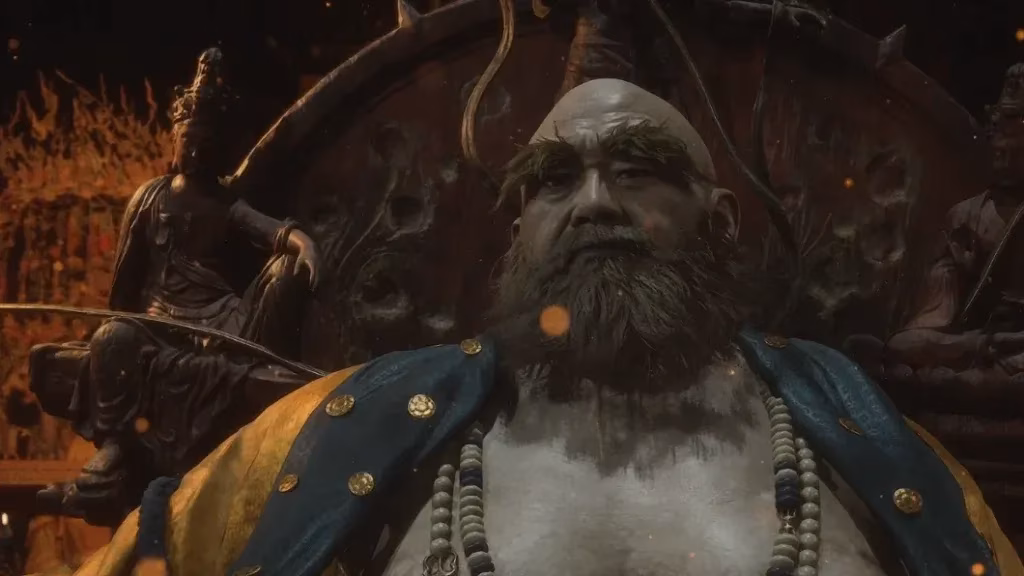
In the heart of the New Thunderclap Temple, the formidable Yellowbrow stands as the final guardian of Chapter 3, a three-part trial that tests the Destined One's skill and adaptability. This epic confrontation is structured like a nested puzzle box, with each layer revealing a new and distinct challenge. First, players face Yellowbrow in his initial form, then are plunged into a battle against the Macaque Chief within the boss's own magical sack, before emerging for a climactic and drastically more difficult rematch with a powered-up Yellowbrow. The design is merciful, however; falling in battle only requires reattempting the current phase, not the entire gauntlet, and strategic rebuilding is possible between the first and second encounters.
Phase 1: The Initial Confrontation
The first encounter with Yellowbrow serves as a deceptive tutorial. He wields his massive mace with slow, methodical swings. Yet, his weapon is like a serpent lying in wait—its head can unexpectedly lash out, extending the attack's range in a deceptive manner. His moveset is largely telegraphed, focusing on ground slams, shockwaves, and a crawling mace explosion.
Key attacks to watch for include:
-
Mace Slam & Shockwave: A heavy slam followed by a radial energy wave. Dodge through the shockwave.
-
Projectile Volleys: Yellowbrow summons homing projectiles. These are easily avoided at range, but up close, the Staff Spin ability can be used to deflect them, simultaneously building Focus on the boss—a tactic as efficient as a master blacksmith folding steel.
After a health threshold, his mace's handle becomes flexible, behaving more like a flail. The key here is to watch the weapon's head, not the wielder. This flail-like behavior previews the deadly sequences used in the final phase.
Phase 2: The Sack & The Macaque Chief
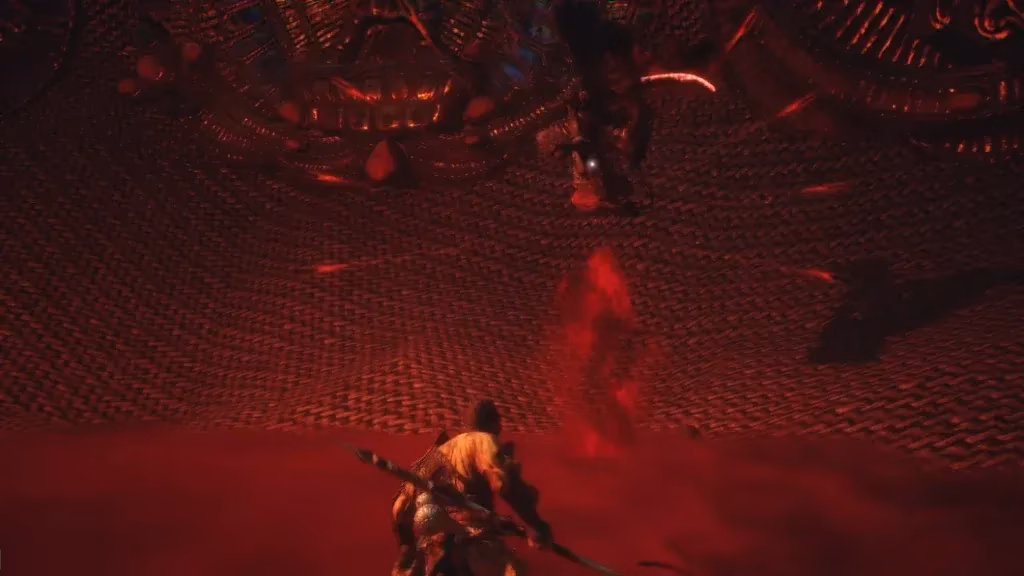
Upon reducing Yellowbrow's health to zero, the Destined One is pulled into his sack, teaming up with the ally Zhu Bajie to face the Macaque Chief. This fight is a chaotic dance of crimson energy. The Chief attacks with wild, sweeping sword strikes augmented by vicious red waves that extend his reach unpredictably. He switches between wielding his blade with hands and feet, making his combos hard to read.
Zhu Bajie provides crucial support, distracting the boss and offering healing. A major opening occurs during the Chief's combo: he plants his sword in the ground and claws wildly in a direction. Dodging to the side of this initial lunge creates a safe window for damage or a moment to retreat and use the Healing Gourd.
A deadly move sees the boss leap into the air, firing projectiles while charging down. A well-timed dodge forward can avoid both threats simultaneously. Crucially, dying here respawns the player at the Mahavira Hall Shrine. This allows for a complete strategic reset before the final showdown—players can respec, unequip risky spells, and optimize their loadout for Phase 3.
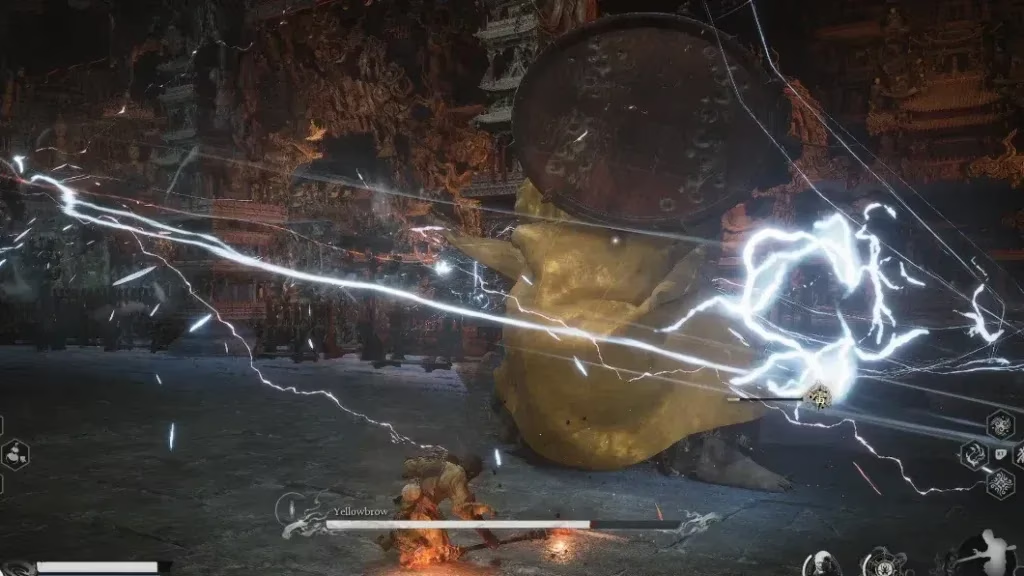
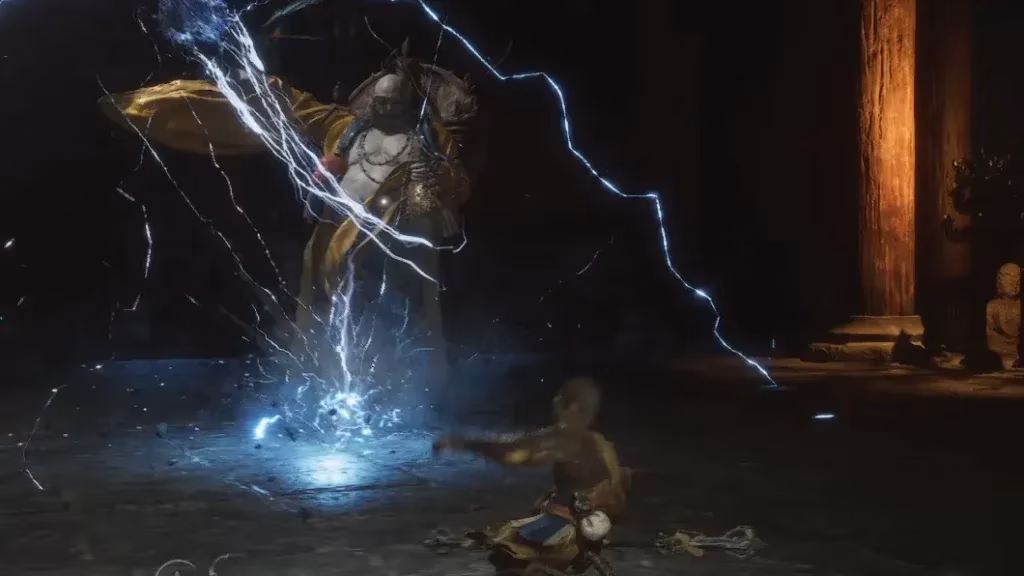
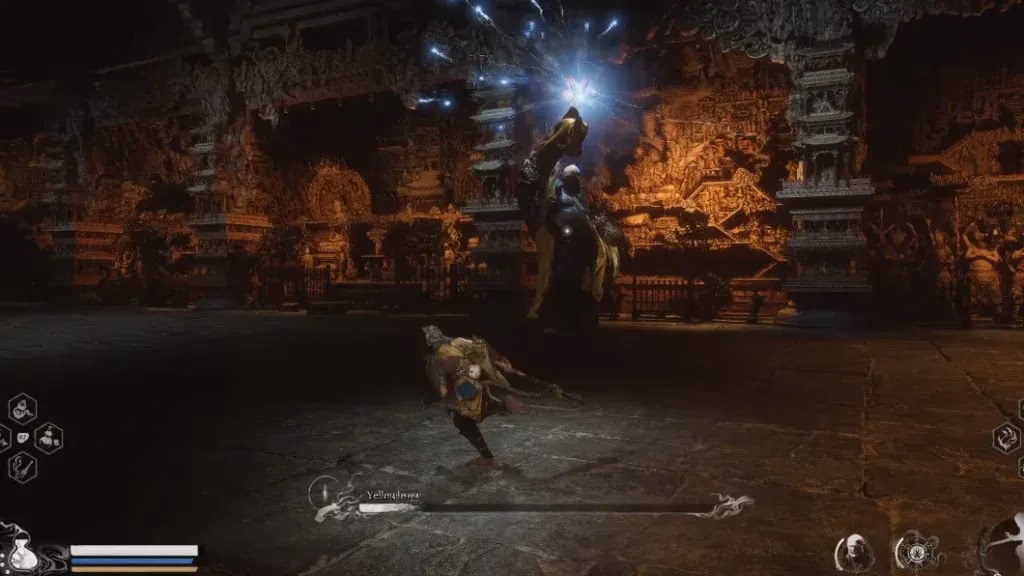
Phase 3: The Final Reckoning
The final battle against Yellowbrow is a storm of escalating violence, a difficulty spike as sharp as a shattered mountain peak. His mace now acts as a true flail, spinning wildly on its flexible handle. Preparation is paramount:
-
Spell Warning: The Immobilize spell triggers a defensive reaction. Swap it for Ring of Fire or use it with extreme caution.
-
Defensive Essentials: Cloud Step is invaluable for mobility and avoiding specific mechanics. The Non-Void Spirit offers a defensive backstep with invincibility frames.
-
Critical Avoidance: Do not use A Pluck of Many. Yellowbrow can corrupt the clones, turning them against you.
-
Consumables: Shock Quelling Powder helps mitigate his thunder-based attacks.

Major Mechanics of Phase 3:
| Mechanic | Description | Counterplay |
|---|---|---|
| Golden Shell | Yellowbrow coats himself in gold, deflecting normal attacks. | Break it with charged Heavy Attacks. Failure causes a massive lightning explosion—run away! |
| Lightning Cage | Traps the player in a ring of lightning with projectile waves. | Time Cloud Step to avoid it, or use Staff Spin to deflect projectiles if caught. |
| Scripted Damage | At ~66% and ~40% health, a cutscene attack deals significant damage. | Keep health high. Heal immediately after regaining control. Expert Cloud Step timing may avoid it. |
Breaking his Golden Shell successfully staggers him, creating the prime damage window. The fight demands patience; attacking his enhanced defenses is as futile as trying to catch the wind in a net. Victory against this thrice-faced foe rewards the Hubris Nose Relic, the Umbral Abyss Transformation Spell, crafting materials, and passage into Chapter 4, concluding a masterfully layered test of combat prowess.